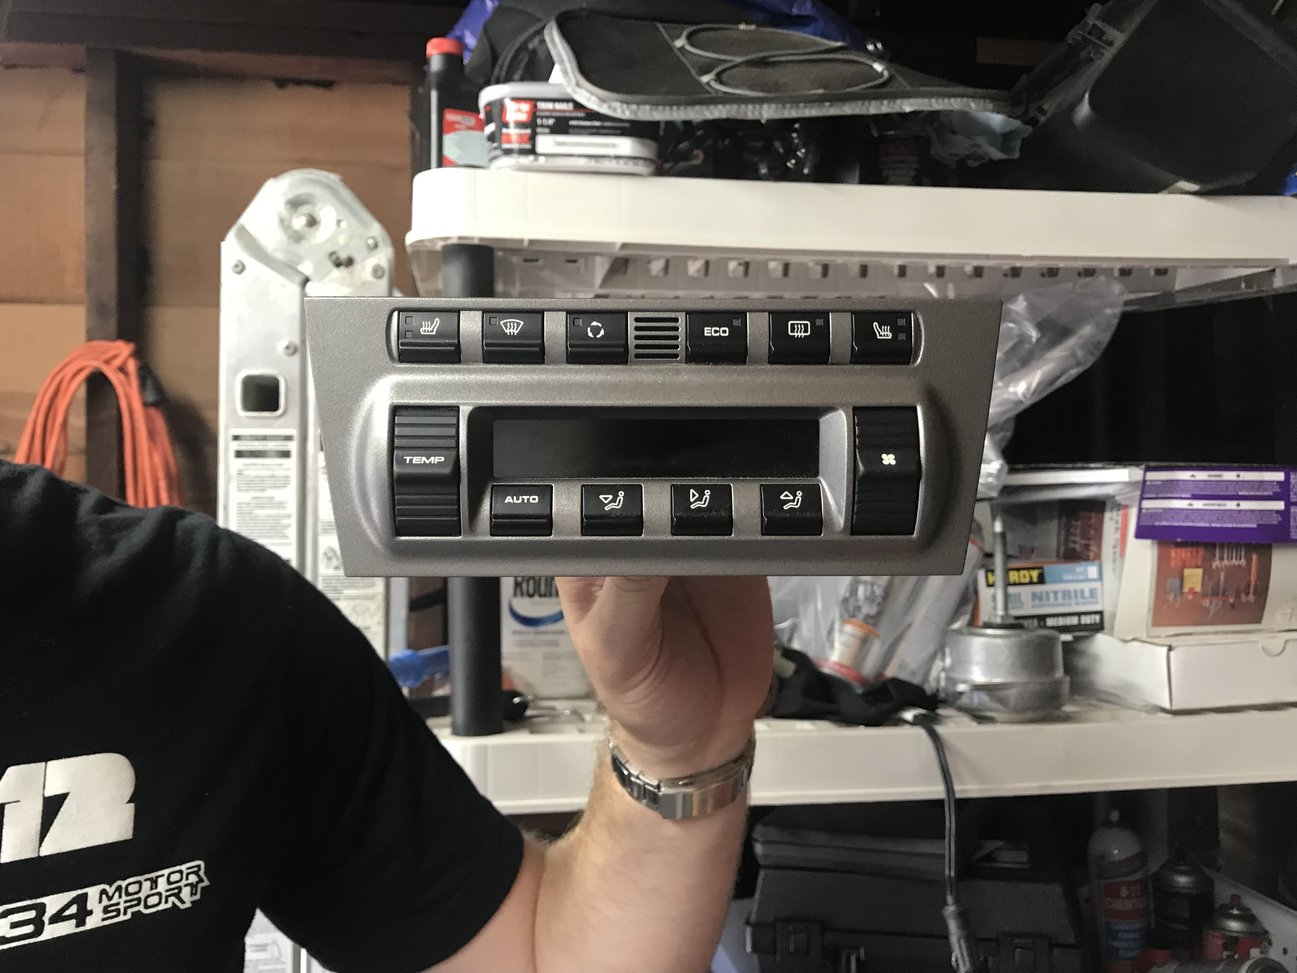
Removing and installing your Porsche climate buttons is easy and shouldn't take more than 20 minutes. Follow this simple steps:
STEP 1
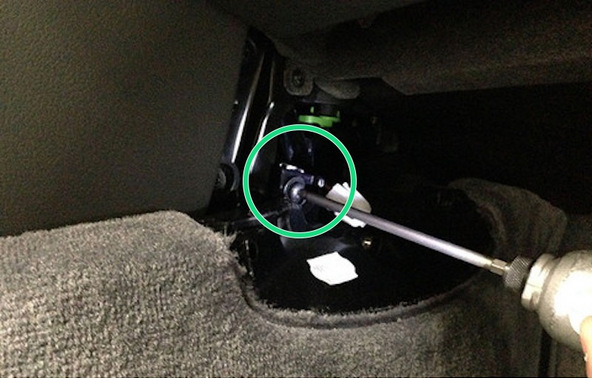
Unscrew the T30 torx next to the passenger foot. Remove the same on the drivers side.

BOSE EQUIPED CARS
This step only applies to vehicles with a Bose Subwoofer in the passenger footwell. Remove the plastic center cover from the air vent. It simply pulls off. This will expose a single Torx screw. Now remove the large Torx screw that fastens the subwoofer to the console. Pull rearwards on the subwoofer enclosure. The whole assembly will now be free. Unplug the subwoofer harness and remove from the vehicle.


STEP 2
Remove the two T20 Torx on both sides of the side panels.

STEP 3
Pull the two panels towards the back of the car by grabbing the panels from the back.

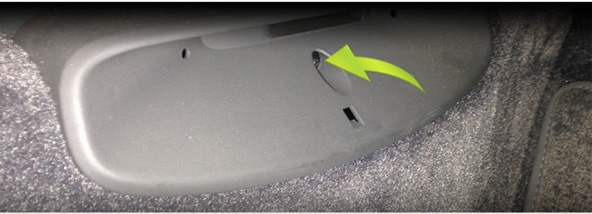
The Arrow shows the location of a very delicate clip. Be cautious. On the passenger side the top corner of the panel likes to stay in place. Use a screwdriver to create a lever arm (as pictured, and be very careful) and then bump the bottom to get that top clip free: Apply force quickly and firmly to the bottom of the panel towardsthe dashboard. On the drivers side you may have to put the screwdriver against the radio face. Wrapping a microfiber towel around it prevents any damage.

STEP 4
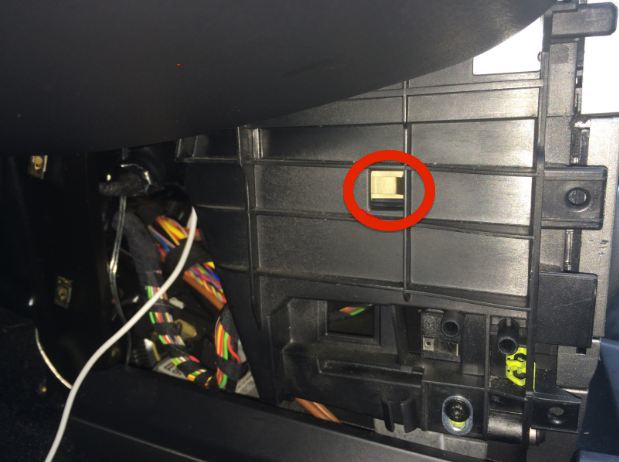
Press on both metal TABS with both hands using your index fingers while sliding out the whole AC module by pulling from the front face with your thumbs (its easier than it sounds). Having your shift knob in 4th gear (for manuals) or drive (for tiptronics) helps giving some room to work.


STEP 5
Now use a towel or something soft and work on top. There are 4 T6 screws in the back of the front panel that needs to be removed.

STEP 6
Remove the 9 T6 screws that holds the board in place, do not disconnect any cables.

STEP 7
Remove rubber sheet and LCD screen carefully (which has 4 parts, we will cover that later)

STEP 8
Watch instructional video on how to easily remove the switches:
Dont forget to put those back in place ;)

STEP 9
To install new climarepair revolution switches, just follow the steps in the reverse order.
